

Free Easter Egg Knitting Patterns Worked Flat
Bring a little handmade colour to spring with this collection of four free Easter Egg knitting patterns.
The Plain, Striped, Heart and Dotty eggs are all worked flat on straight knitting needles. Each one uses only a small amount of DK yarn, making these cheerful decorations a lovely way to use favourite leftovers from your yarn basket.
Knit a co-ordinated pastel set for an Easter display, add them to gift baskets, hang them from an Easter tree or use them for a reusable chocolate-free egg hunt. Once finished, they can be carefully packed away and enjoyed again each spring.
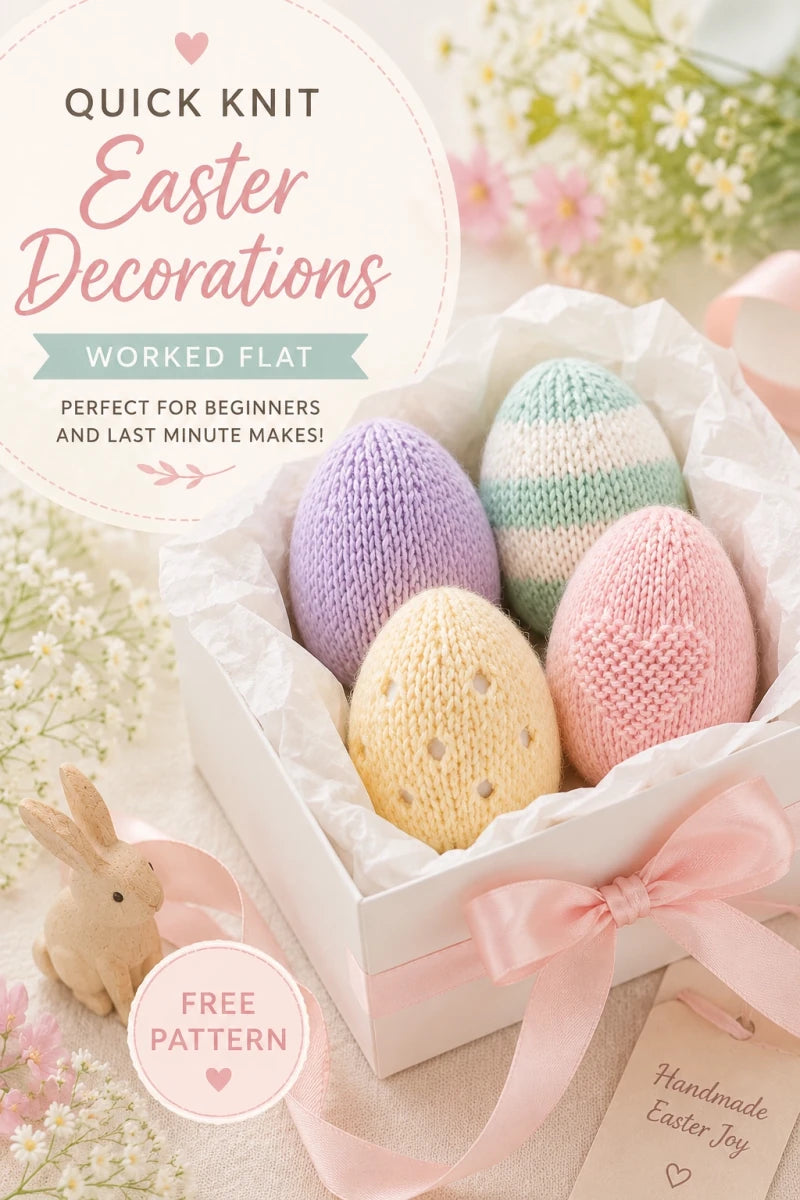
Four Easter Egg Designs Included
- Plain Egg – a simple Stockinette Stitch design and the best place to begin.
- Striped Egg – the Plain Egg worked with colour changes every six rows.
- Heart Egg – a softly textured heart created with Knit and Purl Stitches.
- Dotty Egg – decorative eyelets made with double Yarn Overs and paired decreases.
Is This Easter Egg Pattern Right for Me?
This collection is suitable for an Advanced Beginner who is comfortable with Knit and Purl Stitches and is ready to practise simple shaping.
The Plain and Striped Eggs provide the gentlest introduction. The Heart Egg adds a textured motif, while the Dotty Egg introduces Yarn Overs, Slip Slip Knit and Purling Through the Back Loop.
This is a lovely project if you would like to:
- Make a quick seasonal knitting project.
- Practise increasing and decreasing.
- Use small amounts of leftover DK yarn.
- Knit flat rather than in the round.
- Create reusable Easter decorations.
- Make soft eggs for spring displays, gift baskets or Easter hunts.
Download the Free Printable Pattern
The complete pattern is available to follow online below. If you would prefer a printer-friendly copy containing all four designs, download the free PDF from the Easter Eggs pattern listing.
Download the Free Easter Eggs PDF Pattern
Complete checkout to receive the free PDF by email. When your order total is £0.00, no payment details are required—only your name and the email address where you would like the pattern sent.
Finished Egg Size
Approximately 8cm high × 5.5cm wide (3¼ × 2¼ inches).
The exact finished size may vary slightly depending on your yarn, gauge and filling.
Gauge
20 stitches and 28 rows = 4 × 4 inches (10 × 10cm).
Gauge is not as critical for a decorative project as it is for a garment, but it will affect the finished size and whether the knitted cover fits an 8cm polystyrene egg.
Materials
- DK weight yarn – approximately 5g or 16 yards per egg.
- 3mm knitting needles (UK 11 / US 2½).
- Polystyrene egg measuring approximately 8cm × 5.5cm, or toy stuffing.
- Tapestry or yarn needle.
- Scissors.
The Dotty Egg should be made with a polystyrene egg rather than toy stuffing. The firm inner shape supports the eyelets and prevents the filling from showing through.
Affiliate disclosure: These links open an external retailer that supplies Peach Unicorn Designs and delivers worldwide. We may earn a small commission from qualifying purchases at no additional cost to you.
Helpful Pattern Notes
- All four eggs are worked flat on straight knitting needles.
- The eggs are knitted from the top down.
- Each design begins with 8 stitches and increases to 56 stitches.
- The first 17 rows establish the shared egg shape.
- The Plain and Striped Eggs are the easiest designs in the collection.
- The Heart and Dotty Eggs use the Plain Egg shaping with different central pattern rows.
- If substituting yarn, use the yardage figure rather than relying only on the weight.
- Leave a long yarn tail for closing and sewing the egg.
Abbreviations
- k – Knit.
- p – Purl.
- kfb – Knit into the front and back of the same stitch to increase by one stitch.
- k2tog – Knit the next two stitches together.
- ssk – Slip, Slip, Knit.
- yo – Yarn Over.
- p1tbl – Purl one stitch through the back loop.
- sts – Stitches.
- () – Repeat the instructions inside the brackets the stated number of times.
- * to ** – Repeat the instructions between the markers as directed.
Helpful Stitch Tutorials
- Knit Stitch tutorial
- Purl Stitch tutorial
- Knit Front and Back tutorial
- Knit Two Together tutorial
- Yarn Over tutorial
- Purl Through the Back Loop tutorial
- Slip, Slip, Knit tutorial
1. Plain Easter Egg
Cast on 8 sts.
Row 1 – Purl to the end. (8 sts)
Row 2 – k1, (kfb) 6 times, k1. (14 sts)
Purl all unlisted odd-numbered rows.
Row 4 – k1, (kfb, k1) 6 times, k1. (20 sts)
Row 6 – k1, (kfb, k2) 6 times, k1. (26 sts)
Row 8 – k1, (kfb, k3) 6 times, k1. (32 sts)
Row 10 – k1, (kfb, k4) 6 times, k1. (38 sts)
Row 12 – k1, (kfb, k5) 6 times, k1. (44 sts)
Row 14 – k1, (kfb, k6) 6 times, k1. (50 sts)
Row 16 – k1, (kfb, k7) 6 times, k1. (56 sts)
Rows 18, 20, 22, 24, 26, 28 and 30 – Knit to the end. (56 sts)
Row 32 – k1, (k2tog, k1) 18 times, k1. (38 sts)
Row 34 – k1, (k2tog, k1) 12 times, k1. (26 sts)
Row 36 – k1, (k2tog) 12 times, k1. (14 sts)
Row 38 – k1, (k2tog) 6 times, k1. (8 sts)
Finishing the Plain Easter Egg
Leave a long yarn tail. Thread the tail through the remaining eight stitches on the needle and pull firmly to close.
Insert the polystyrene egg or add plenty of toy stuffing. With the right side facing out, sew the side seam neatly from the lower opening towards the cast-on edge.
Weave the yarn through the eight cast-on stitches, pull firmly to close the top and secure the yarn.
2. Striped Easter Egg
Follow the complete Plain Easter Egg pattern, changing yarn colour after every six rows.
When changing colour, twist the old and new yarns together at the edge before continuing. Sew the yarn ends in securely before closing the egg.
3. Heart Easter Egg
Cast on 8 sts.
Rows 1–17 – Complete Rows 1–17 of the Plain Easter Egg.
Row 18 – Knit to the end. (56 sts)
Row 19 – p6, (k3, p3, k3, p9) twice, k3, p3, k3, p5. (56 sts)
Row 20 – k4, (p5, k1, p5, k7) twice, p5, k1, p5, k5. (56 sts)
Row 21 – p5, (k11, p7) twice, k11, p4. (56 sts)
Row 22 – k4, (p11, k7) twice, p11, k5. (56 sts)
Row 23 – p5, (k11, p7) twice, k11, p4. (56 sts)
Row 24 – k5, (p9, k9) twice, p9, k6. (56 sts)
Row 25 – p7, (k7, p11) twice, k7, p6. (56 sts)
Row 26 – k7, (p5, k13) twice, p5, k8. (56 sts)
Row 27 – p9, (k3, p15) twice, k3, p8. (56 sts)
Row 28 – k9, (p1, k17) twice, p1, k10. (56 sts)
Row 29 – Purl to the end. (56 sts)
Row 30 – Knit to the end. (56 sts)
Rows 31–38 – Complete Rows 31–38 of the Plain Easter Egg.
Follow the finishing instructions for the Plain Easter Egg.
4. Dotty Easter Egg
Use a polystyrene egg inside the Dotty Egg rather than toy stuffing.
Cast on 8 sts.
Rows 1–17 – Complete Rows 1–17 of the Plain Easter Egg.
Row 18 – Knit to the end. (56 sts)
Row 19 – Purl to the end. (56 sts)
Row 20 – k2, *k2tog, yo twice, ssk, k4** repeat from * to ** 6 times, k2tog, yo twice, ssk, k2. (56 sts)
Special Note: On Rows 21, 25 and 29, work p1 into the first loop of every double Yarn Over and p1tbl into the second loop. This closes the extra stitch while keeping the decorative eyelet open.
Row 21 – Purl to the end, working each double Yarn Over as described above. (56 sts)
Row 22 – Knit to the end. (56 sts)
Row 23 – Purl to the end. (56 sts)
Row 24 – k6, *k2tog, yo twice, ssk, k4** repeat from * to ** 6 times, k2. (56 sts)
Row 25 – Purl to the end, working each double Yarn Over as described above. (56 sts)
Row 26 – Knit to the end. (56 sts)
Row 27 – Purl to the end. (56 sts)
Row 28 – k2, *k2tog, yo twice, ssk, k4** repeat from * to ** 6 times, k2tog, yo twice, ssk, k2. (56 sts)
Row 29 – Purl to the end, working each double Yarn Over as described above. (56 sts)
Row 30 – Knit to the end. (56 sts)
Rows 31–38 – Complete Rows 31–38 of the Plain Easter Egg.
Follow the finishing instructions for the Plain Easter Egg.
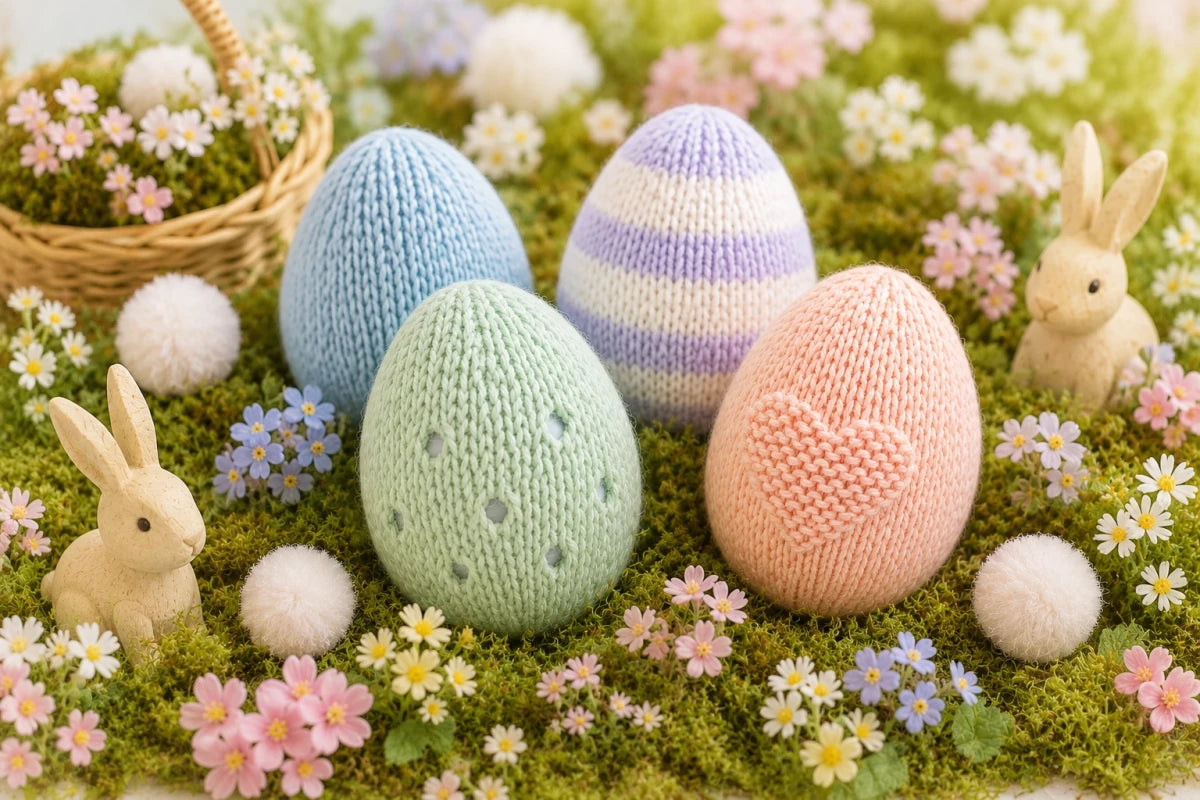
Ideas for Using Your Knitted Easter Eggs
- Arrange them in a bowl or basket for a spring table display.
- Add ribbon loops and hang them from an Easter tree.
- Use them for a reusable indoor Easter egg hunt.
- Include them in a handmade Easter gift box.
- Attach one to a wrapped present as a keepsake decoration.
- Knit several sets for a school or community spring fayre.
What to Make Next
If you enjoyed this quick seasonal project, explore more small worked-flat designs and free patterns from Peach Unicorn Designs.
Explore More Easter Knitting Patterns
Choose your favourite spring colours, enjoy each little row and watch your collection of knitted Easter eggs grow.
Let’s make something beautiful together.
Pattern Use
This free knitting pattern is for personal use. You may sell finished Easter eggs made from the pattern when Peach Unicorn Designs is credited as the designer.
The written instructions, photographs and PDF pattern may not be copied, republished, translated, sold or redistributed.
2 comments
I made a loads of these eggs last Easter, some in green and some in white, hid them around the house. Grandkids picked a colour and race around the house, they have a lot of fun. Thank you for the patterns. i enjoyed making them.
Your patterns are very clear and easy to understand. Thank you so much for sharing your talent with us!